14 January 2012

Saturday Favorites 002


Photo Credits:
1st-3rd photo: Man Repeller
5th:  Snowing Love

1. Arm Party
I've been seeing it for quite sometime now. I've been doing it for quite sometime, too. But I never knew until recently that it is now called "Arm Party." 

I saw an article about this through Chictopia. It was Man Repeller, one of my favorite bloggers, who coined the term! Check out more of her arm party stories HERE and HERE. Do check out also Refinery29's best-dressed wrist list and Bloggers Do It Better: Arm Party challenge for overload of photos and ideas!

Speaking of arm party, I've seen soooo many friendship bracelets lately and I love it! Our favorite childhood accessory is making a comeback! There are still those classic, woven or braided or beaded ones. There are modernized versions which are studded, shiny ones. There are cheap ones and expensive ones, too! I used to make those until high school. I had actually bought lots of wax cords for that a few months back. They are still unused since all I could remember was the no-brainer braid techinique! I'm going to learn the other techniques again and make myself some friendship bracelets! (It'll be a good DIY entry, too!)


2. My boss wasn't around for three days.
'NUFF SAID. :D


Photo Credit

3. Hair
I happened to see a link leading to her blog through Tumblr. I saw videos and photos of interesting and easy hairstyles that she did. One of these days, I'll try doing them on my hair. :)


4. The Girl with the Dragon Tattoo and City Hunter
Currently reading and watching, respectively. :) I'm on Chapter 2 for both (I should be STRICTLY watching one episode and reading one chapter per night ON WEEKDAYS.). I'm hooked! I gotta say, I missed reading and watching Koreanovela (one of my cheap thrills in life)! Haha!

5. Lovin' my memo board! :)


6. Recent haul: Purple cropped blazer and coral shorts with laser-cut details
(The color of the blazer might seem blue-ish but its purple.)

SHARE:

11 January 2012

DIY: Styrofoam Memo Board

One day, I thought of bringing home the styrofoam that I found in one of the shelves in the office (I didn't steal it from office supplies, it had been there for a few months already. :D) and make my own memo board.


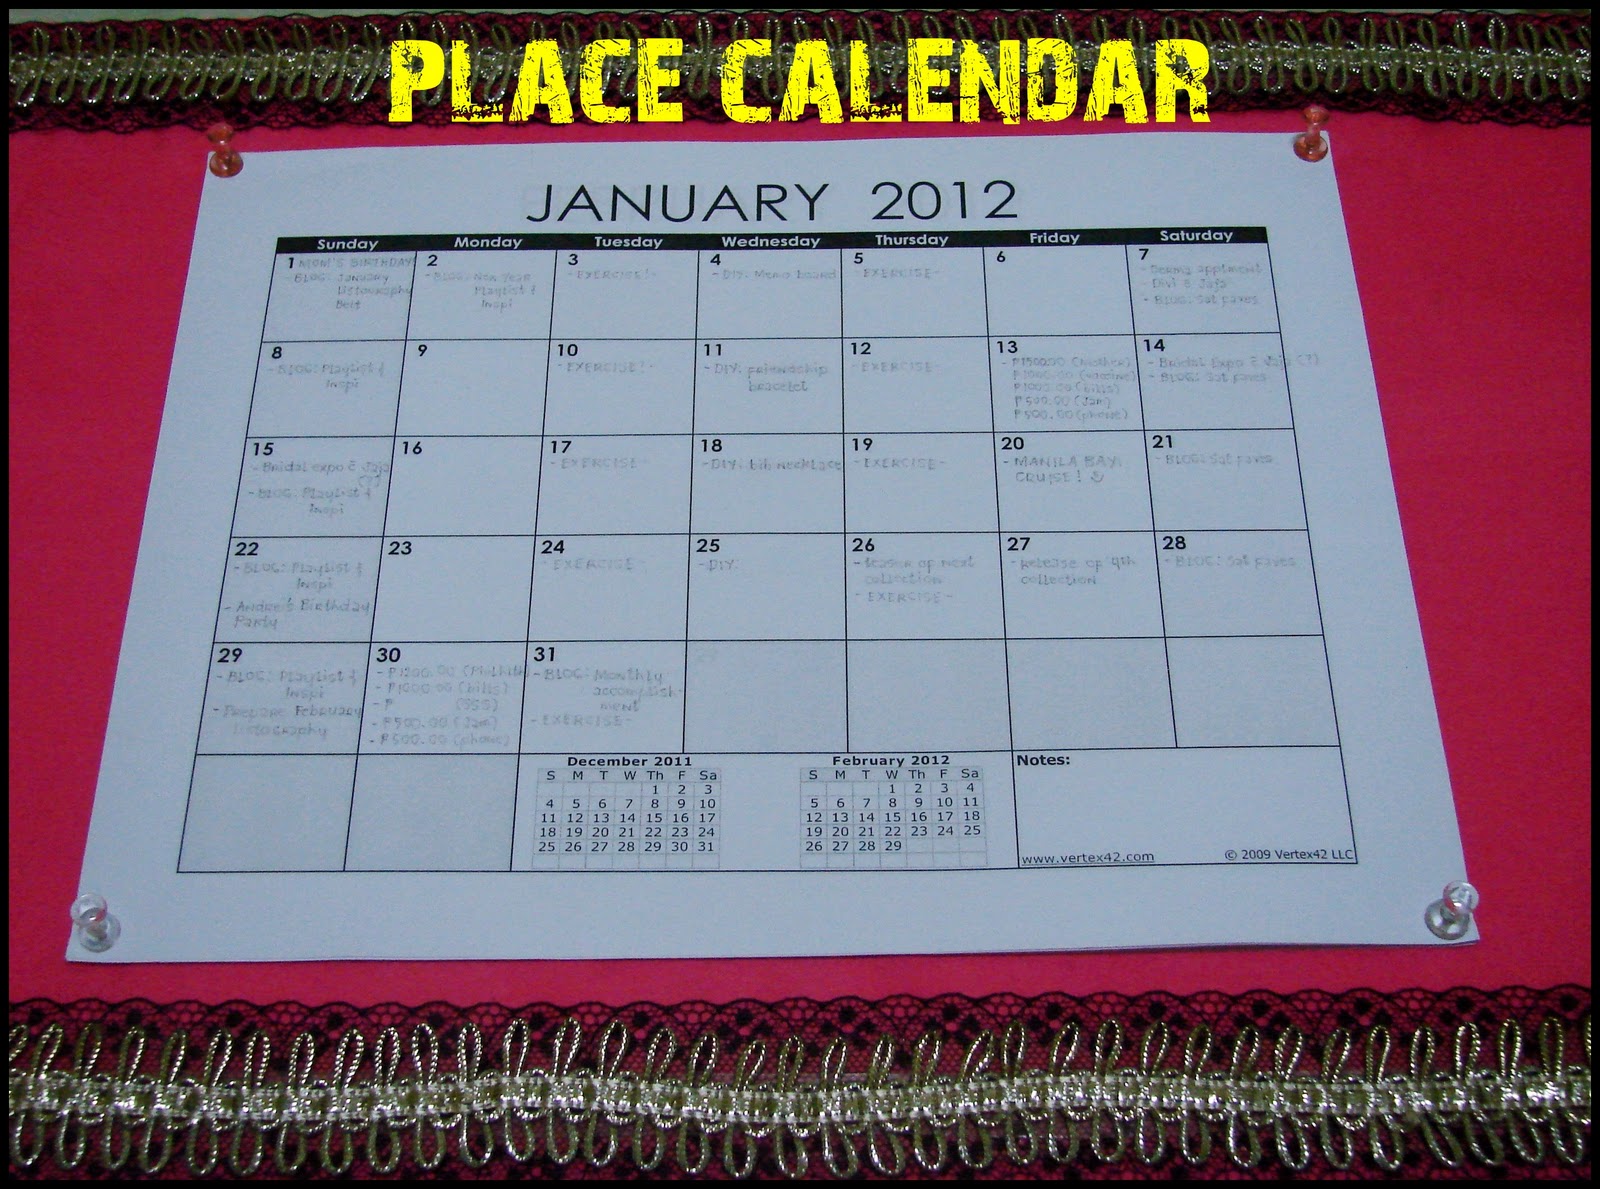
1. Calendar (I printed a template I found on the internet)
2. Scissors
3. Styrofoam
4. Fabric of your choice
5. Lace (or you can use ribbons or whatever you want)
6. Embellishments: trimmings, pearls, beads, sequins
7. Thumb tacks

(Not seen in the photo because I forgot, sorry.)
8. Glue gun
9. Packaging tape
10. Push pins, paper clips


Measure and cut the fabric according to the size of your board. Be sure to have an inch or two fabric allowance. I used a fuschia (Darn, I forgot the name of the fabric! But it's the one used for linings in dresses, etc.) fabric to add a pop of color to my yellow-colored walls.


Pull fabric towards the back tightly.


Use thumb tacks to lock the fabric in place.


Since I had around 2 inches allowance, I folded the ends so it won't be messy later on due to the loose threads.


Again, I used thumb tacks to lock the folded ends of fabric in place.


I added more thumb tacks at the side of the board, just to make sure my board will have a sturdy cover. :)


(Optional)
You can use a packaging tape to put the fabric in place. If you're still not happy with it, you can add thumb tacks on top of the tape to be sure. Don't worry if it would look messy, it won't be seen anymore once you mount it onto your wall.


Now, let's move on to the design.
How you will design and decorate your board is all up to you. But I suggest you plot them on your board first to see how it will look like. Or if you have tons of designs in mind, plotting them first on your board will help you choose which among your ideas is better. For my board, I used black lace to have a chic effect in my memo board. Hee. :)


Cut the lace based on the estimated length that you need. 


Place double adhesives behind the lace and/or trimmings/other embellishments that you will use. You can use a glue gun, too, it's your call.


Decorate it! Stick the lace and trimmings on the board in whichever way you want to. Mine looks like that. :)


With the use of push pins, I placed my calendar on top of the board.


I added shells and beads as embellishment and tadaaah -- my own memo board! :) 
I intentionally left the space on both sides blank so I could have a spot to stick on my post-its, etc. :)


I actually made another look of my board by placing the lace in criss-cross.


I added beads on areas of intersection of the lace. With the use of paper clips, I attached the old, printed photos I have on the lace. This board will just be for random stuff like photos, movie or concert tickets, stubs, receipts, little notes, etc. The more important ones will be on the other board. :)

So you've seen my very own, DIY memo board, show me yours too! :)
SHARE:
© glittered trail. All rights reserved.
Blogger Templates by pipdig